
如何自製 GitHub Actions 並上架至 Marketplace
GitHub Actions 是 GitHub 提供的一個 CI/CD 服務,可以讓你在 GitHub 上自動化你的工作流程,幫你生成文件、測試安全性、部署應用程式等等。而 GitHub Marketplace 則是一個整合了 GitHub Actions 的地方,你可以在這裡找到各種各樣的 Action 來幫助你的專案。在這篇文章中,我將教你如何自製 GitHub Actions 並上架至 Marketplace。
今天我的範例是要使用 Node.js 製作一個可以將 GitHub Repository 中的 issue 同步到 Notion 的 Action。
溫馨提醒
我們今天因為目標是要上架至 Marketplace,所以步驟相對於製作一般的 Action 比較不一樣一點。
步驟一:建立一個 Repository
首先,你需要在 GitHub 上建立一個 Repository (建立新的 GitHub Repository)。這個 Repository 將用來存放你的 Action 程式,以及一些必要的文件。我們會使用 Node.js 來實現這個 Action。
.gitignore建議不要選擇Node,因為這樣會忽略node_modules資料夾。
步驟二:撰寫 Action
建立 Action 設定文件
在你的 Repository 中,建立一個 action.yml 文件,這個文件是用來描述你的 Action 的。這裡是一個簡單的例子:
name: Sync GitHub Issues to Notionauthor: Elvis Maodescription: A simple tool to sync GitHub issues to Notion beautifully.branding: color: gray-dark icon: activityinputs: repo: description: "The GitHub repository name." required: true NOTION_API_KEY: description: "The Notion API key." required: true NOTION_DATABASE_ID: description: "The ID of the Notion database." required: trueruns: using: "node20" main: "index.js"這個文件中包含了 Action 的名稱、作者、描述、輸入參數、運行環境等等。你可以根據你的需求修改這個文件。branding 中的 color 和 icon 是用來設定 Action 在 Marketplace 上的顏色和圖示的。你可以在 GitHub Actions Branding Cheat Sheet 這個實用的工具中找到更多的顏色和圖示。
建立 Action 程式
在你的 Repository 中,建立一個 index.js 文件,這個文件是用來實現你的 Action 的。這裡是我節錄的一部分程式:
const core = require("@actions/core");// const request = require("request");// const { markdownToBlocks } = require("@tryfabric/martian");async function main() { const repo = core.getInput("repo"); const notionToken = core.getInput("NOTION_API_KEY"); const notionDatabaseId = core.getInput("NOTION_DATABASE_ID"); // ...}main().catch(error => { console.error(error); process.exit(1);});這個文件中最上面引入了 @actions/core 這個庫,這樣就可以安全的讀取使用者設定的 GitHub Actions Secrets 了。裡面可能是你的 API Key 或者其他敏感訊息。這裡我們使用了 core.getInput 來讀取使用者設定的參數。底下我因為程式需要呼叫 API 所以引用了 request 以及 @tryfabric/martian 這兩個庫。你可以根據你的需求修改,因為不是必要的所以我註解掉了。
底下我們主要的程式放在 main 函數,裡面我們讀取了使用者設定的參數,然後進行一些操作。最後我們使用 main().catch 來捕獲異常,並且退出程序。
建立 Readme 文件
建議在 Repository 中,建立一個 README.md 文件,這個文件是用來描述你的 Action 的。讓其他人在使用你的 Action 的時候可以知道該如何使用。以下是我的範例
# GitHub-issue-2-NotionA simple tool to sync GitHub issues to Notion beautifully一個簡單的工具,將 GitHub 的 issue 優雅的同步到 Notion## Features- [x] Sync issue to Notion- [x] Sync State to Notion- [x] Sync labels to Notion- [x] Sync URL to Notion- [x] Sync content to Notion with full markdown support- [x] Won't repeat recreating the same issue- [x] Update status if exists這樣我們的 Action 就完成了。請將整個 Repository 推送到 GitHub 上 (當然,你的權杖和測試文件記得 ignore)。
部屬到 Marketplace
建立 Release
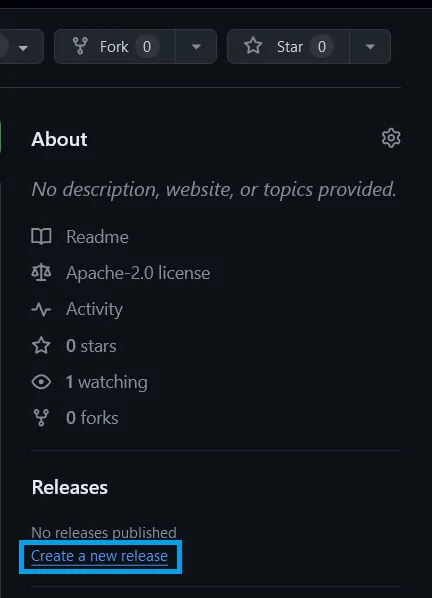
在你的 Repository 中,點擊 Releases,然後點擊 Create a new release。
在這裡,你可以填寫 Release 的標題和描述,然後點擊 Publish release。
建立 Release
請勾選 Publish this Action to the GitHub Marketplace 這個選項。你會需要同意一些條款,然後 GitHub 會確認你的文件有設定正確,最後填入 tag 版本號以及標題,然後點擊 Publish release 就完成上架囉。
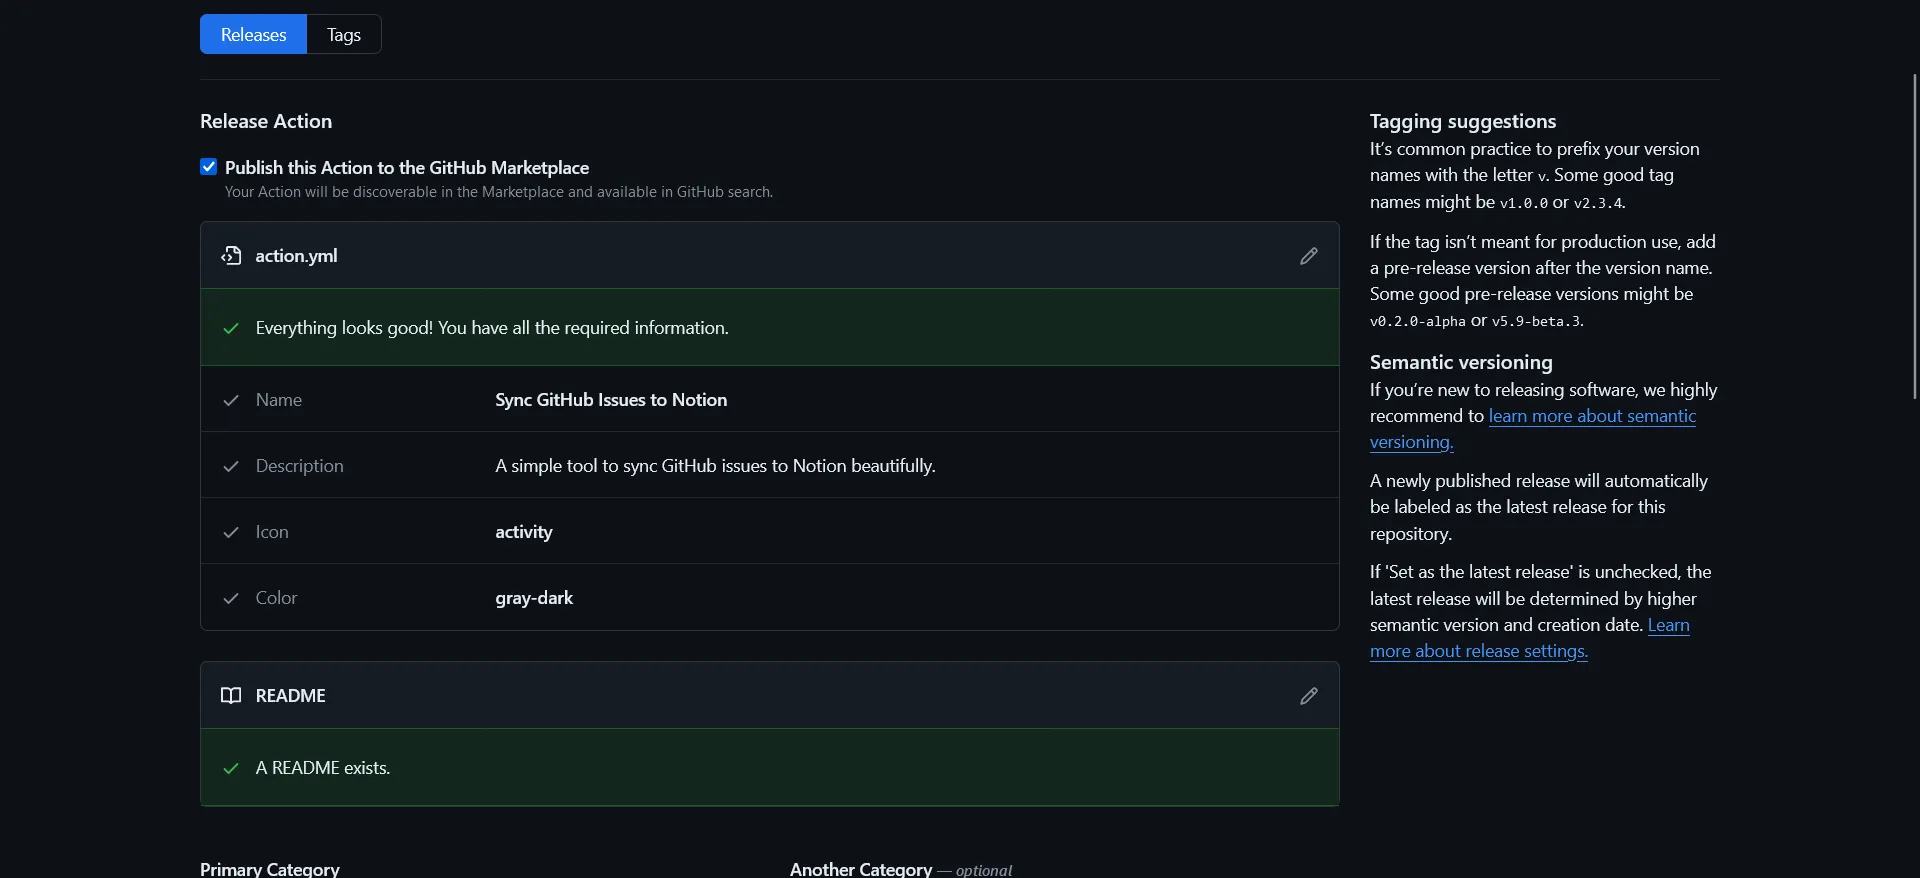
這樣你的 Action 就上架到 Marketplace 了。
使用
在你的 Repository 中,建立一個 .github/workflows 文件夾,然後建立一個 .yml 文件。檔案名稱可以隨意,比如說我取叫 sync.yml。這個文件是用來描述你的工作流程的。這裡是一個簡單的例子:
name: Sync issues to Notionon: issues: types: [opened, edited, deleted, closed, reopened] workflow_dispatch:jobs: sync: runs-on: ubuntu-latest steps: - name: Notion GitHub Issues Automation uses: elvisdragonmao/GitHub-issue-2-Notion@main with: repo: ${{ github.repository }} NOTION_API_KEY: ${{ secrets.NOTION_API_KEY }} NOTION_DATABASE: ${{ secrets.NOTION_DATABASE_ID }}這個文件中包含了工作流程的名稱、觸發條件、工作、步驟等等。這裡我們使用了 elvisdragonmao/GitHub-issue-2-Notion@main 來引入我們的 Action。
觸發條件中包含了 issues 和 workflow_dispatch,這樣當有 issue 被打開、編輯、刪除、關閉、重新打開的時候,或者手動觸發的時候,這個工作流程就會被觸發。常見的觸發條件還有 push、pull_request、schedule 等等,你可以在 GitHub Actions Documentation 中找到更多的觸發條件。
with 中包含了我們的參數。我們讀取了 repo 名稱並帶入使用者設定的 Secrets 來保護我們的敏感訊息。你可以根據你的需求修改這個文件。
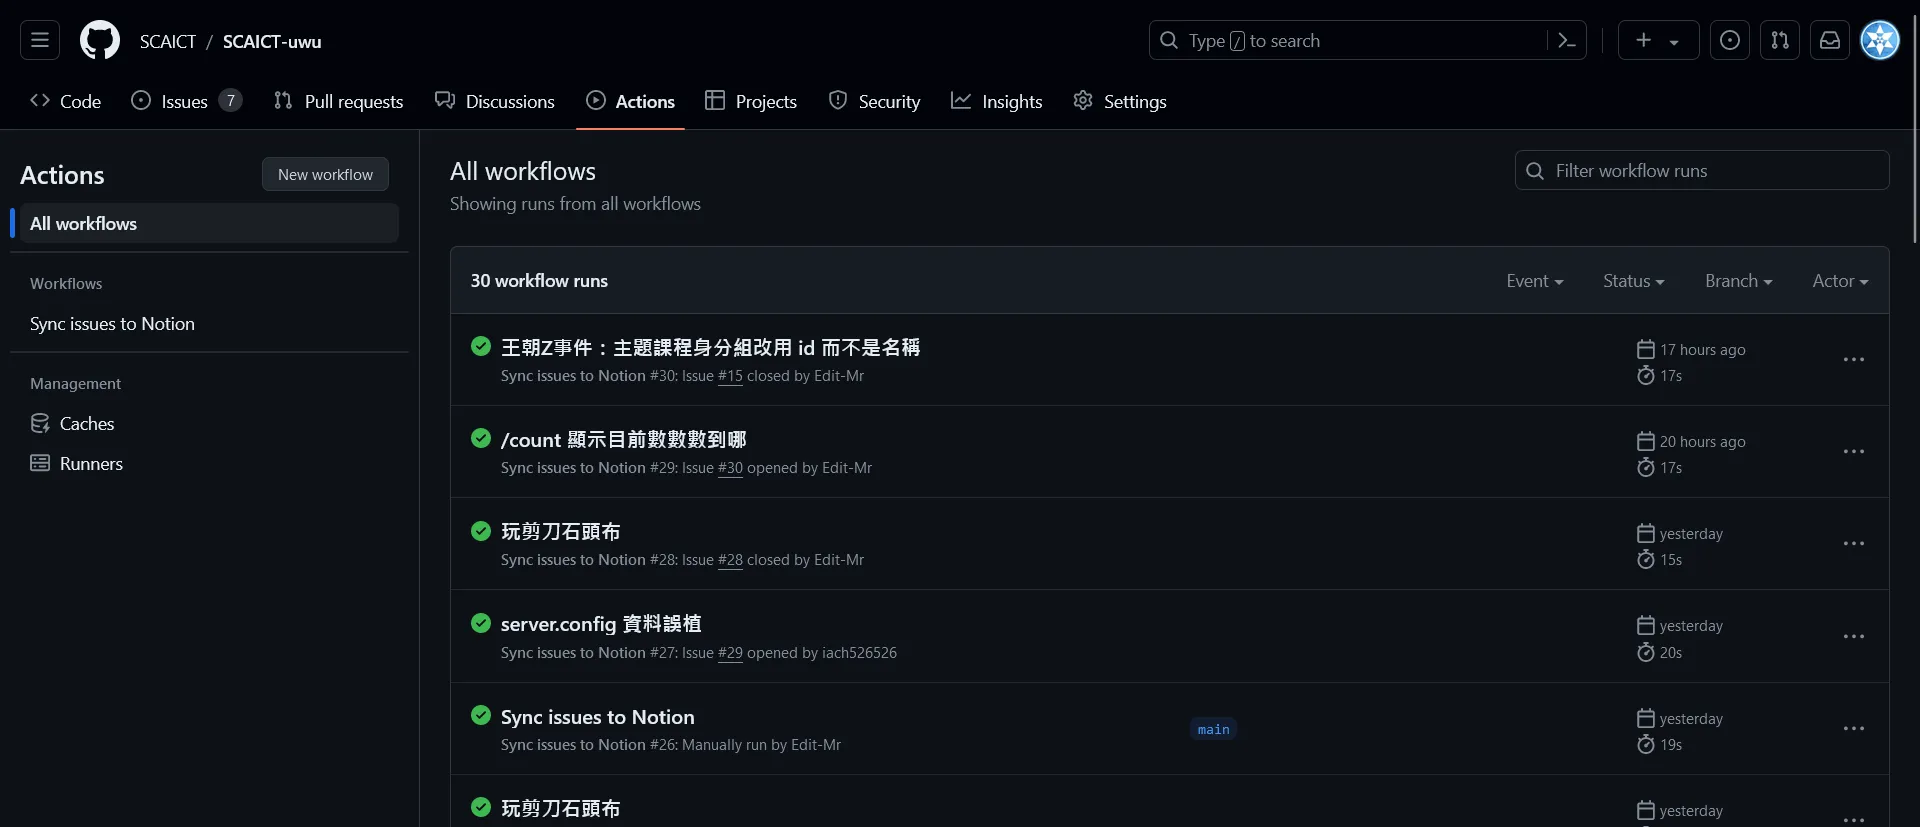
這樣我們的 Action 就完成了。你可以在你的 Repository 中的 Actions 頁面中看到這個工作流程的運行情況。
希望這篇文章能夠幫助到你。如果你有任何問題都可以在 IG 留言,也歡迎在 Instagram 和 Google 新聞追蹤毛哥EM資訊密技。


留言
留言區