
如何使用 Certbot 申請免費的 SSL 憑證,並使用 DNS 驗證?
最近我一直在玩我的樹莓派,想要在上面架設一個檔案下載網站。但是沒有 SSL 憑證每次都會被瀏覽器警告說網站不安全,所以我決定使用 Certbot 申請一個免費的 SSL 憑證。在這篇文章中,我將分享如何使用 Certbot 申請免費的 SSL 憑證,並使用 DNS 驗證。
什麼是 Certbot?
Certbot 是一個由 Electronic Frontier Foundation (EFF) 開發的免費、開源的工具,它可以幫助你在網站上安裝 SSL 憑證。Certbot 支援的憑證類型有 Let’s Encrypt 和 ACME (Automatic Certificate Management Environment)。
為什麼要使用 SSL 憑證?
**簡單來說就是讓你的網址從 http:// 變成 https://。**使用 SSL 憑證可以幫助你的網站加密資料,保護用戶的隱私。此外,Google 也將使用 SSL 憑證作為搜索排名的一個指標,所以使用 SSL 憑證也有助於提高你的網站在搜索引擎上的排名。
如何使用 Certbot 申請免費的 SSL 憑證?
安裝 Certbot
Certbot 可以在大多數的 Linux 發行版上安裝,今天就都用我的樹莓派來示範,但是你也可以在 Ubuntu、Debian、CentOS、Fedora、Arch Linux 上安裝。
sudo apt-get updatesudo apt-get install certbot申請 SSL 憑證
Certbot 支援多種驗證方式,包括 HTTP 驗證、DNS 驗證、TLS-ALPN-01 驗證等。在這裡我們使用 DNS 驗證,這是一種通過 DNS 記錄驗證你對域名的控制權的方式。這條命令中的 --manual 表示我們要手動驗證,--preferred-challenges dns 表示我們要使用 DNS 驗證,-d example.com -d *.example.com 表示我們要申請的域名。
sudo certbot certonly --manual --preferred-challenges dns -d example.com -d *.example.com這時的輸出如下:
em@raspberrypi:/ssl $ sudo certbot certonly --manual --preferred-challenges dns -d '*.elvismao.com'Saving debug log to /var/log/letsencrypt/letsencrypt.logEnter email address (used for urgent renewal and security notices) (Enter 'c' to cancel):輸入你的郵箱地址,然後按下 Enter 鍵。
- - - - - - - - - - - - - - - - - - - - - - - - - - - - - - - - - - - - - - - -Please read the Terms of Service athttps://letsencrypt.org/documents/LE-SA-v1.3-September-21-2022.pdf. You mustagree in order to register with the ACME server. Do you agree?- - - - - - - - - - - - - - - - - - - - - - - - - - - - - - - - - - - - - - - -(Y)es/(N)o: YCertbot 會提示你閱讀 Let’s Encrypt 的服務條款,輸入 Y 表示你同意這些條款。(相信你一定有認真讀過對吧?)
- - - - - - - - - - - - - - - - - - - - - - - - - - - - - - - - - - - - - - - -Would you be willing, once your first certificate is successfully issued, toshare your email address with the Electronic Frontier Foundation, a foundingpartner of the Let's Encrypt project and the non-profit organization thatdevelops Certbot? We'd like to send you email about our work encrypting the web,EFF news, campaigns, and ways to support digital freedom.- - - - - - - - - - - - - - - - - - - - - - - - - - - - - - - - - - - - - - - -(Y)es/(N)o: NCertbot 會問你是否願意與 EFF 分享你的郵箱地址並訂閱電子報,這裡我是輸入 N 表示你不願意。
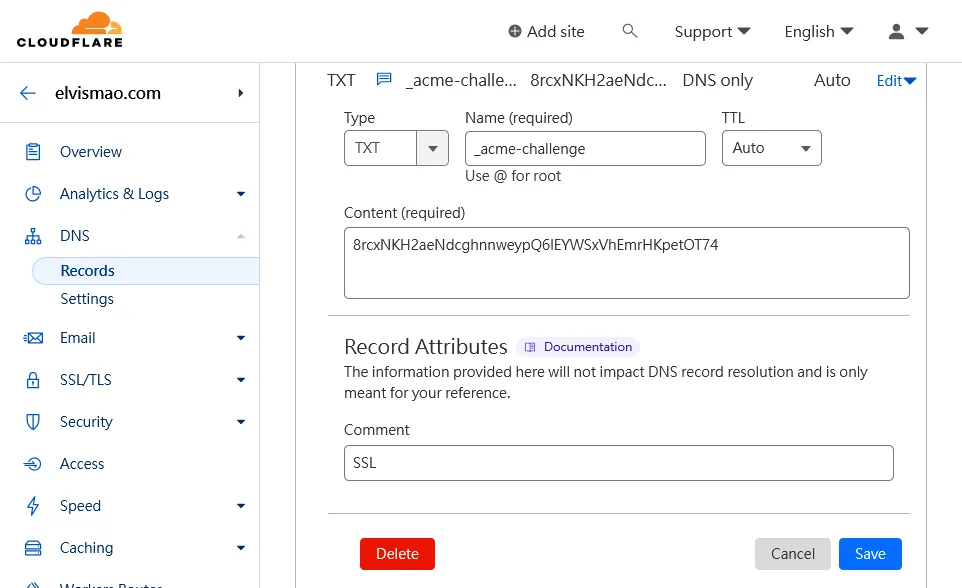
Account registered.Requesting a certificate for *.elvismao.com- - - - - - - - - - - - - - - - - - - - - - - - - - - - - - - - - - - - - - - -Please deploy a DNS TXT record under the name:_acme-challenge.elvismao.com.with the following value:8rcxNKH2aeNdcghnnweypQ6lEYWSxVhEmrHKpetOT74Before continuing, verify the TXT record has been deployed. Depending on the DNSprovider, this may take some time, from a few seconds to multiple minutes. You cancheck if it has finished deploying with aid of online tools, such as the GoogleAdmin Toolbox: https://toolbox.googleapps.com/apps/dig/#TXT/_acme-challenge.elvismao.com.Look for one or more bolded line(s) below the line ';ANSWER'. It should show thevalue(s) you've just added.- - - - - - - - - - - - - - - - - - - - - - - - - - - - - - - - - - - - - - - -Press Enter to ContinueCertbot 會提示你在 DNS 記錄中添加一條 TXT 記錄,這條記錄的名稱是 _acme-challenge.elvismao.com,值是 8rcxNKH2aeNdcghnnweypQ6lEYWSxVhEmrHKpetOT74。你需要在你的 DNS 服務商的控制面板中添加這條記錄,然後按下 Enter 鍵。
這裡我使用 Cloudflare 作為我的 DNS 服務商,所以我在 Cloudflare 的控制面板中添加了一條 TXT 記錄。
Successfully received certificate.Certificate is saved at: /etc/letsencrypt/live/elvismao.com/fullchain.pemKey is saved at: /etc/letsencrypt/live/elvismao.com/privkey.pemThis certificate expires on 2024-06-08.These files will be updated when the certificate renews.當你在 DNS 服務商的控制面板中添加了 TXT 記錄後,按下 Enter 鍵,Certbot 會提示你成功接收到了 SSL 憑證,並告訴你憑證的儲存位置。
檔案介紹
fullchain.pem:這是你的 SSL 憑證,它包含了你的域名和中間證書。chain.pem:這是中間證書。cert.pem:這是你的域名憑證。
privkey.pem:這是你的私鑰,它用來加密和解密資料。
通常只會需要用到 fullchain.pem 和 privkey.pem 這兩個檔案。
自動更新 SSL 憑證
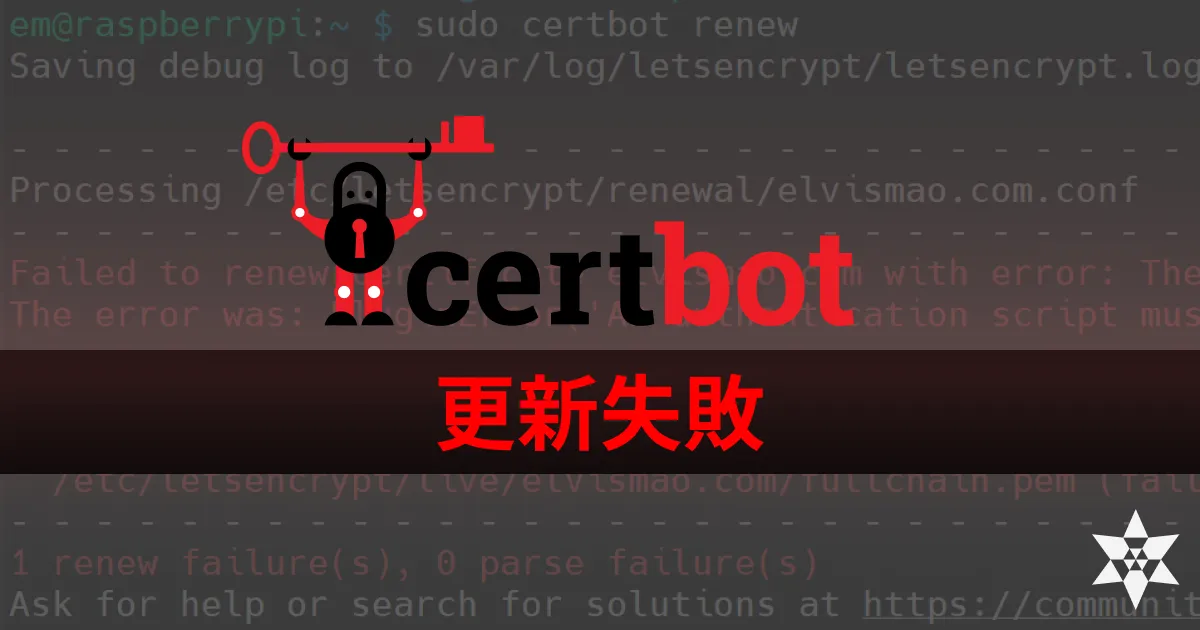
Let’s Encrypt 的 SSL 憑證有效期只有 90 天,所以你需要定期更新你的 SSL 憑證。你可以使用 Certbot 的 renew 命令來更新你的 SSL 憑證。
sudo certbot renew你可以使用 crontab 來設定定時任務,定期更新你的 SSL 憑證。
sudo crontab -e如果你是第一次開啟 crontab,它會提示你選擇一個編輯器,我選擇了 vim,你可以選擇你熟悉的編輯器。
然後添加一條定時任務。只需要在文件的最後添加一條定時任務即可。
0 0 1 * * certbot renew這條定時任務表示每個月的 1 號 0 點 0 分更新 SSL 憑證。
下一步
當你成功申請到了 SSL 憑證後,你就可以在你的網站上使用這個憑證了。你可以在你的網站配置文件中添加 SSL 憑證的路徑,然後重啟你的網站服務。
希望這篇文章能夠幫助到你。如果你有任何問題都可以在 IG 留言,也歡迎在 Instagram 和 Google 新聞追蹤毛哥EM資訊密技。
Comments
留言區