Day14 今天我想來點… 純 CSS 的開關

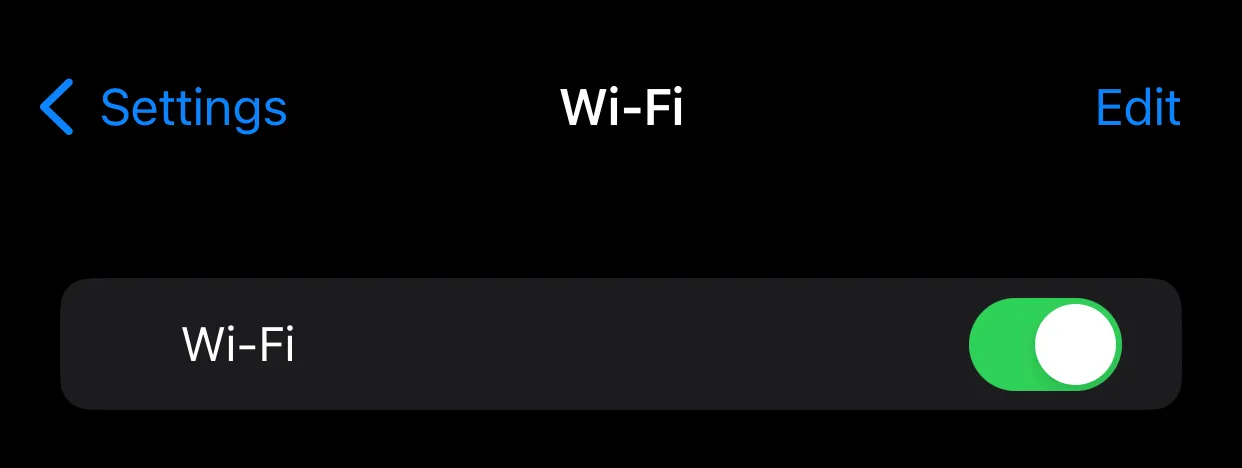
在手機開關的設定裡面通常不是 checkbox,而是這種 toggle 開關。因為比較好看,且更有開關的感覺。

廢話不多說,今天就來把它做出來吧
原理
開關本身還是 checkbox 勾選框,但是我們把原本勾勾的隱藏起來,然後用圓形開關代替。當被勾選時白色的圓形移動到右邊,而背景顏色漸變成綠色。
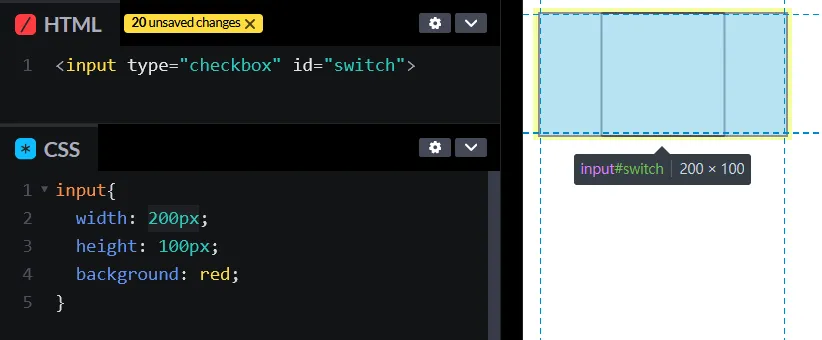
寫 checkbox 的 CSS 時因為
input是插入一個元素,而不是一個範圍,所以不能使用::before和::after來做。- checkbox 顯示一定是正方形,如果設定為其他長寬比塊白的地方還是可以點擊。

Alt text - checkbox 無法設定背景顏色
問題那麼多,因此我們只需要 input 幫我們掛名存狀態,然後把它藏在角落裡面就好了。
我們需要用其他元素來做開關的外觀。可以讓 checkbox 隱藏在 HTML 較前面的部分,然後用其他元素來控制 checkbox 的狀態。而能夠遠端遙控 checkbox 的元素叫做 label 。我們可以用 label 來控制 checkbox 的狀態。只需要點擊 label checkbox 也會感覺到。
開始製作
HTML 如下,我想用這個開關來控制背景顏色。
<input type="checkbox" id="switch" />
<label class="toggle" for="switch"></label>
<div class="light"></div>先簡單切版
*,
label::after {
	margin: 0;
	padding: 0;
	transition: all 0.3s;
}
#switch {
	display: none;
}
label {
	width: 3.5rem;
	height: 2rem;
	background: #e9e9eb;
	border-radius: 1rem;
	position: relative;
	cursor: pointer;
}
body {
	display: flex;
	justify-content: center;
	align-items: center;
	min-height: 100svh;
}
.light {
	position: fixed;
	width: 100%;
	height: 100%;
	left: 0;
	top: 0;
	z-index: -1;
	background: #444444;
}
label::after {
	position: absolute;
	left: 0.15rem;
	top: 0.15rem;
	content: "";
	width: 1.7rem;
	height: 1.7rem;
	border-radius: 50%;
	background: #fff;
	pointer-events: none;
}

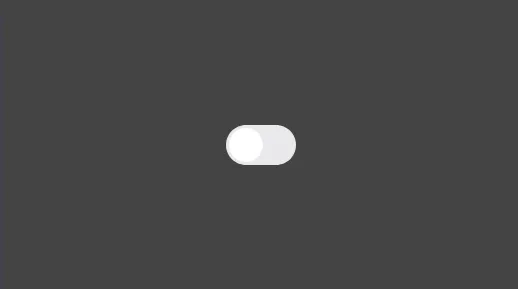
這樣你會得到一個非常簡單的版面。而按鈕是在框框範圍都可以點選的。
接著我們讓按鈕被勾選時,背景顏色漸變成白色。我們為了讓元素可以抓到勾選框的狀況,<input>需要被放在所有元素的前面。因為我們有選擇器+選擇後面的一個元素,~選擇所有後面的元素。
input:checked + label {
	background: #34c85a;
}
input:checked + label::after {
	left: 1.65rem;
}
input:checked ~ .light {
	background: #fff;
}最後成果如下
https://codepen.io/edit-mr/pen/KKbZjOq

<input type="checkbox" id="switch" />
<label class="toggle" for="switch"></label>
<div class="light"></div>*,
label::after {
margin: 0;
padding: 0;
transition: all 0.3s;
}
#switch {
display: none;
}
label {
width: 3.5rem;
height: 2rem;
background: #e9e9eb;
border-radius: 1rem;
position: relative;
}
body {
display: flex;
justify-content: center;
align-items: center;
min-height: 100svh;
}
.light {
position: fixed;
width: 100%;
height: 100%;
left: 0;
top: 0;
z-index: -1;
background: #444444;
}
label::after {
position: absolute;
left: 0.15rem;
top: 0.15rem;
content: "";
width: 1.7rem;
height: 1.7rem;
border-radius: 50%;
background: #fff;
pointer-events: none;
}
input:checked + label {
background: #34c85a;
}
input:checked + label::after {
left: 1.65rem;
}
input:checked ~ .light {
background: #fff;
}以上就是我今天的分享,你可以根據你的喜好增加陰影或其他動畫效果。歡迎在 Instagram 和 Google 新聞追蹤毛哥EM 資訊密技,也歡迎訂閱我新開的YouTube 頻道:網棧。
我是毛哥EM,讓我們明天再見。


